Push-ups from the ground can be super empowering! Especially as women, many of us have been conditioned to believe that we should be doing knee push-ups and that full push-ups are out of reach. It doesn’t have to be this way! Using simple drills and strategies, your first push-up is closer than you might think.
Getting your first push-up is an amazing goal to strive for, and it may not be as complicated as you think. In this article, we will go over the biggest mistakes people make when attempting their first push-ups and tools you can use to work towards getting your first push-up under your belt!
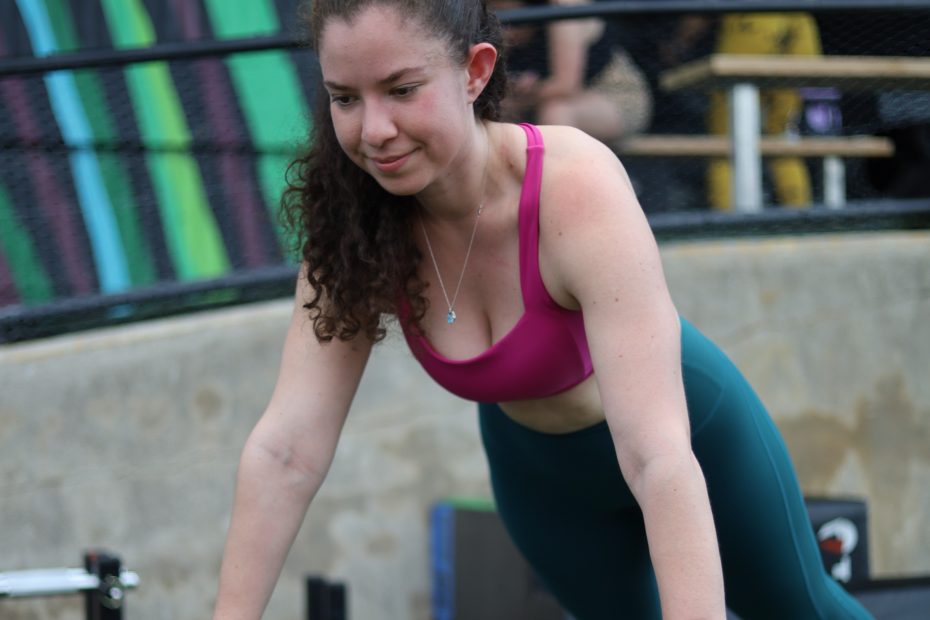
The Basics
Mastering good form is key with push-ups. If you can start off with good form when performing these drills, you will have a much easier time once you transition into full push-ups. Good form starts with the right set up. The top position of your push-up should look like a high plank. There should be a straight line from your head to your toes. Head, shoulders, hips, and feet should line up with each other. Focus on keeping your core and glutes engaged. Your hands should be slightly wider than your shoulders and your arms should be beneath your shoulders.
As you lower, your arms should form an arrow or “A” shape. Many people make the mistake of flaring their elbows out to the sides, but your elbows should come in at a 45 degree angle. Ideally, your elbows should be higher than your shoulders at the bottom of the movement. If you have any shoulder pain or mobility issues, you may need to modify the range of motion.
Mistake #1: Relying on Knee Push-ups
If the only tool in your tool box is knee push-ups, you will probably never progress to a full push-up. That is because knee push-ups don’t provide you with the necessary core or upper body strength needed for a full push-up. Think about it: if you’re always performing push-ups from your knees, how will you build the core strength to maintain a plank? And no matter how many knee push-ups you can do, the jump from knee push-up to full push-up is just too large of a gap for you to transition from knees to toes. Knee push-ups can be a small part of your plan and may be helpful very early on, but these are just not a great assistance exercise for the full push-up.
Mistake #2: Testing Too Often
Let’s be real: are you training for your first push-up or are you just getting down on the ground during each session to see if today is finally the day you grind out your first rep? Of course we need to test occasionally, otherwise you would never know if you’re there. But most of your training time and energy should be spent focusing on using appropriate drills to develop the skills and strength needed for a full push-up.
So what drills should you be using? You will find the three most useful drills on the road to your first push-up below!
Drill #1: Incline Push-Ups
Incline push-ups are a far superior alternative to knee push-ups. This is because incline push-ups can be progressive! To perform an incline push-up, you perform the same motion as a regular push-up, but you elevate your hands instead of placing them on the ground.
If you’re at the gym, my favorite way to do these is on the smith machine. You can start the smith machine on a high up notch, and slowly work your way down as the incline push-ups get easier. If you are doing these at home or your gym doesn’t have a smith machine, you can perform these with your hands on a box, countertop, bench, couch, chair, stool, or even just a stack of books. As long as you have a few items at varying heights, you can perform and progress your incline push-ups.
Drill #2: Eccentric Push-Ups
Eccentric push-ups, also known as negative push-ups, are push-ups where you only do the lowering portion of the rep. These are great because often, when beginners attempt their first full push-up, they can’t get very far down and still come back up. Eccentric push-ups will get you comfortable with the bottom portion of the rep, without having to worry about coming back up to the top.
When performing negative push-ups, try to go as slow as possible. Once you complete your first rep, you can reset and go for a second rep. When you start out with negative push-ups, I recommend only performing 2-3 reps per set. At that point, you will likely go down too fast to get the benefit of the exercise.
Drill #3: High Plank
The plank is a great push-up drill because a push-up is essentially a moving plank. Having the core strength to hold a high plank is essential when it comes to the push-up. Make sure your form is perfect. Your hands should be directly below your shoulders. Your whole body, from head to toe, should be in a straight line. Hips should not be sinking down or rising up. Think about bracing your core as well as your glutes. Start off with just a 15-30 second hold and aim to increase to one minute as you become more advanced. You can add in other core exercises as well, but the high plank best replicates the push-up position.
You don’t have to go at it alone!
Getting your first push-up is an amazing goal for a beginner, but it can feel intimidating. These three drills are an amazing start, but if you would like programming and guidance specific to you and your skill level, click here to learn about my program specifically designed for beginners! We can get you to your first push-up, nail down form and technique on all of the basic exercises, develop a fitness routine that works for you, and tackle foundational nutrition habits!